We already know how to install Bengali fonts on our Windows and Mac PCs. But think that you have a website with Bengali contents and you want to add custom Bengali fonts to your website. So, the question arises: how can you do that? That’s what we are covering in this guide. This guide is quite technical and very familiar to web developers.
In this guide, you will learn how you can add custom Bangla fonts to your website using CSS. So, you need to have basic knowledge about HTML and CSS. Let’s get started.
Convert TTF to WOFF2 Web Font
In the first step, we will convert TTF font to webfont (woff/woff2). If you want to use any fonts on your website, you must have a web font. So first, download the font file that you want to add to your website.
After downloading the font zip file, extract it, and you will get a Unicode font TTF file in the extracted folder. Only Unicode TTF files can be added to websites by converting them to web fonts.

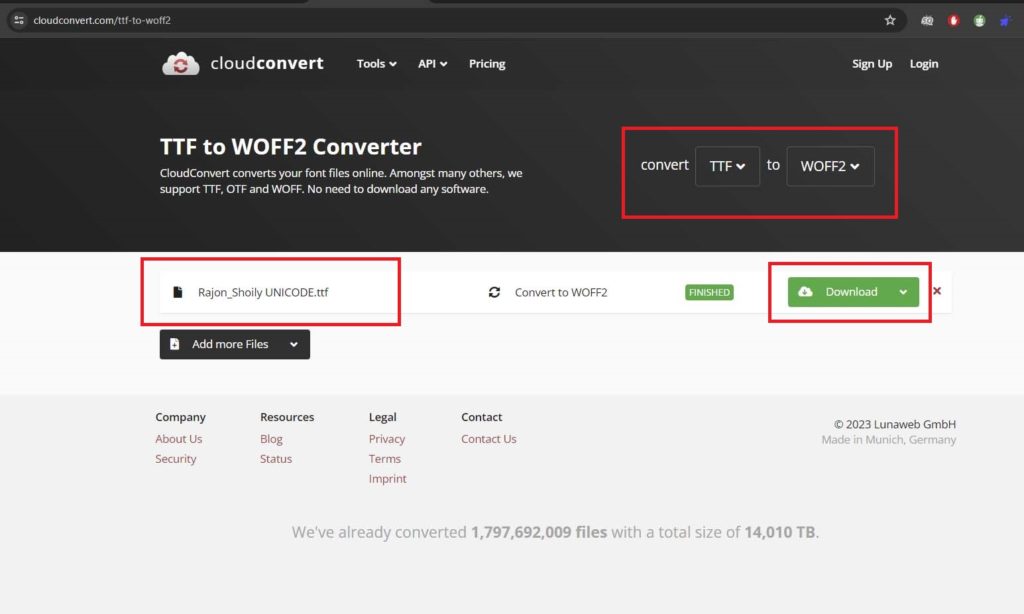
Now, we will convert this unicode ttf to the WOFF2 web font. So, if you search on Google for ttf to woff2 converter, you will get tonnes of converters. Go to the Cloudconverter because it’s easy and fast.
Upload the unicode TTF and hit the convert button. You will be able to download the WOFF2 web font in a few seconds. Download the WOFF2 font.
We have converted the TTF to a web font that we can add to our website. Now, the main procedure has started.
Adding Bengali Fonts to Website using CSS
So, we have the web font that we converted using the ttf to woff2 converter. To add a custom font to our website, we have to upload the web font to our website directory and link up the font using the CSS font-family property.
Now, upload the WOFF2 web font to the font directory of your website. I’m using a local HTML file to test it.
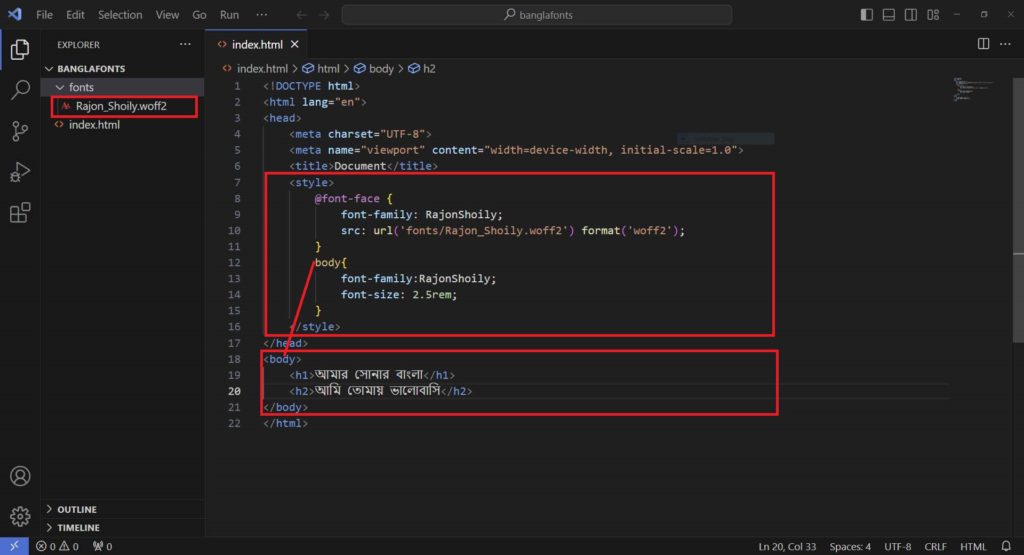
We will declare a @font-face property with two components: font-family and src. First, declare a unique name for the font family, and src would be the location of the WOFF2 font file.
<style>

        @font-face {
            font-family: RajonShoily;
            src: url('fonts/Rajon_Shoily.woff2') format('woff2');
        }
        body{
            font-family:RajonShoily;
        }

</style>
Remember to add the format of the font file to WOFF2. By adding the @font-face property, we have implemented the web font in our CSS.
To apply the implemented web font to all the contents of the website.
  body{
         font-family:RajonShoily;
   }
You can see the snapshots below to check how we applied the Bangla font to a web template.
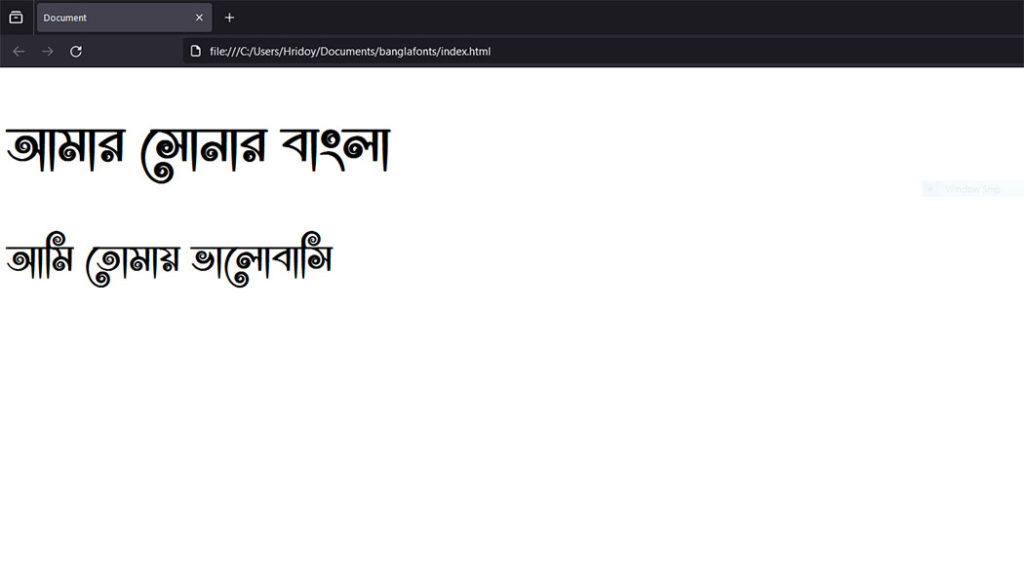
If the CSS is properly implemented, you will see that your website’s contents will change to that font, as shown in the screenshot below.
I hope you successfully added Bengali font to your website using CSS. In the next guide, you will learn how to add a custom Bengali font to your WordPress website using a plugin, and there is definitely no need for any technical knowledge.
Nice a app